Get Started with Rack on iPhone
Start here. Set up your preferences, pair your Garmin, and log your first workout, with the connected-vs-offline modes made clear. Links out to routines, programs, importing, and the AI connector.
The iPhone app is home base — it’s where you log workouts, keep your routines, and tune everything to your liking. This guide picks up right after onboarding and walks you from a fresh account to your first logged workout, in order. About 7 minutes.
A quick vocabulary note used throughout: a set is one round of an exercise, a rep is one repetition within a set, and a routine is a reusable workout template you can start with one tap.
Find Your Way Around
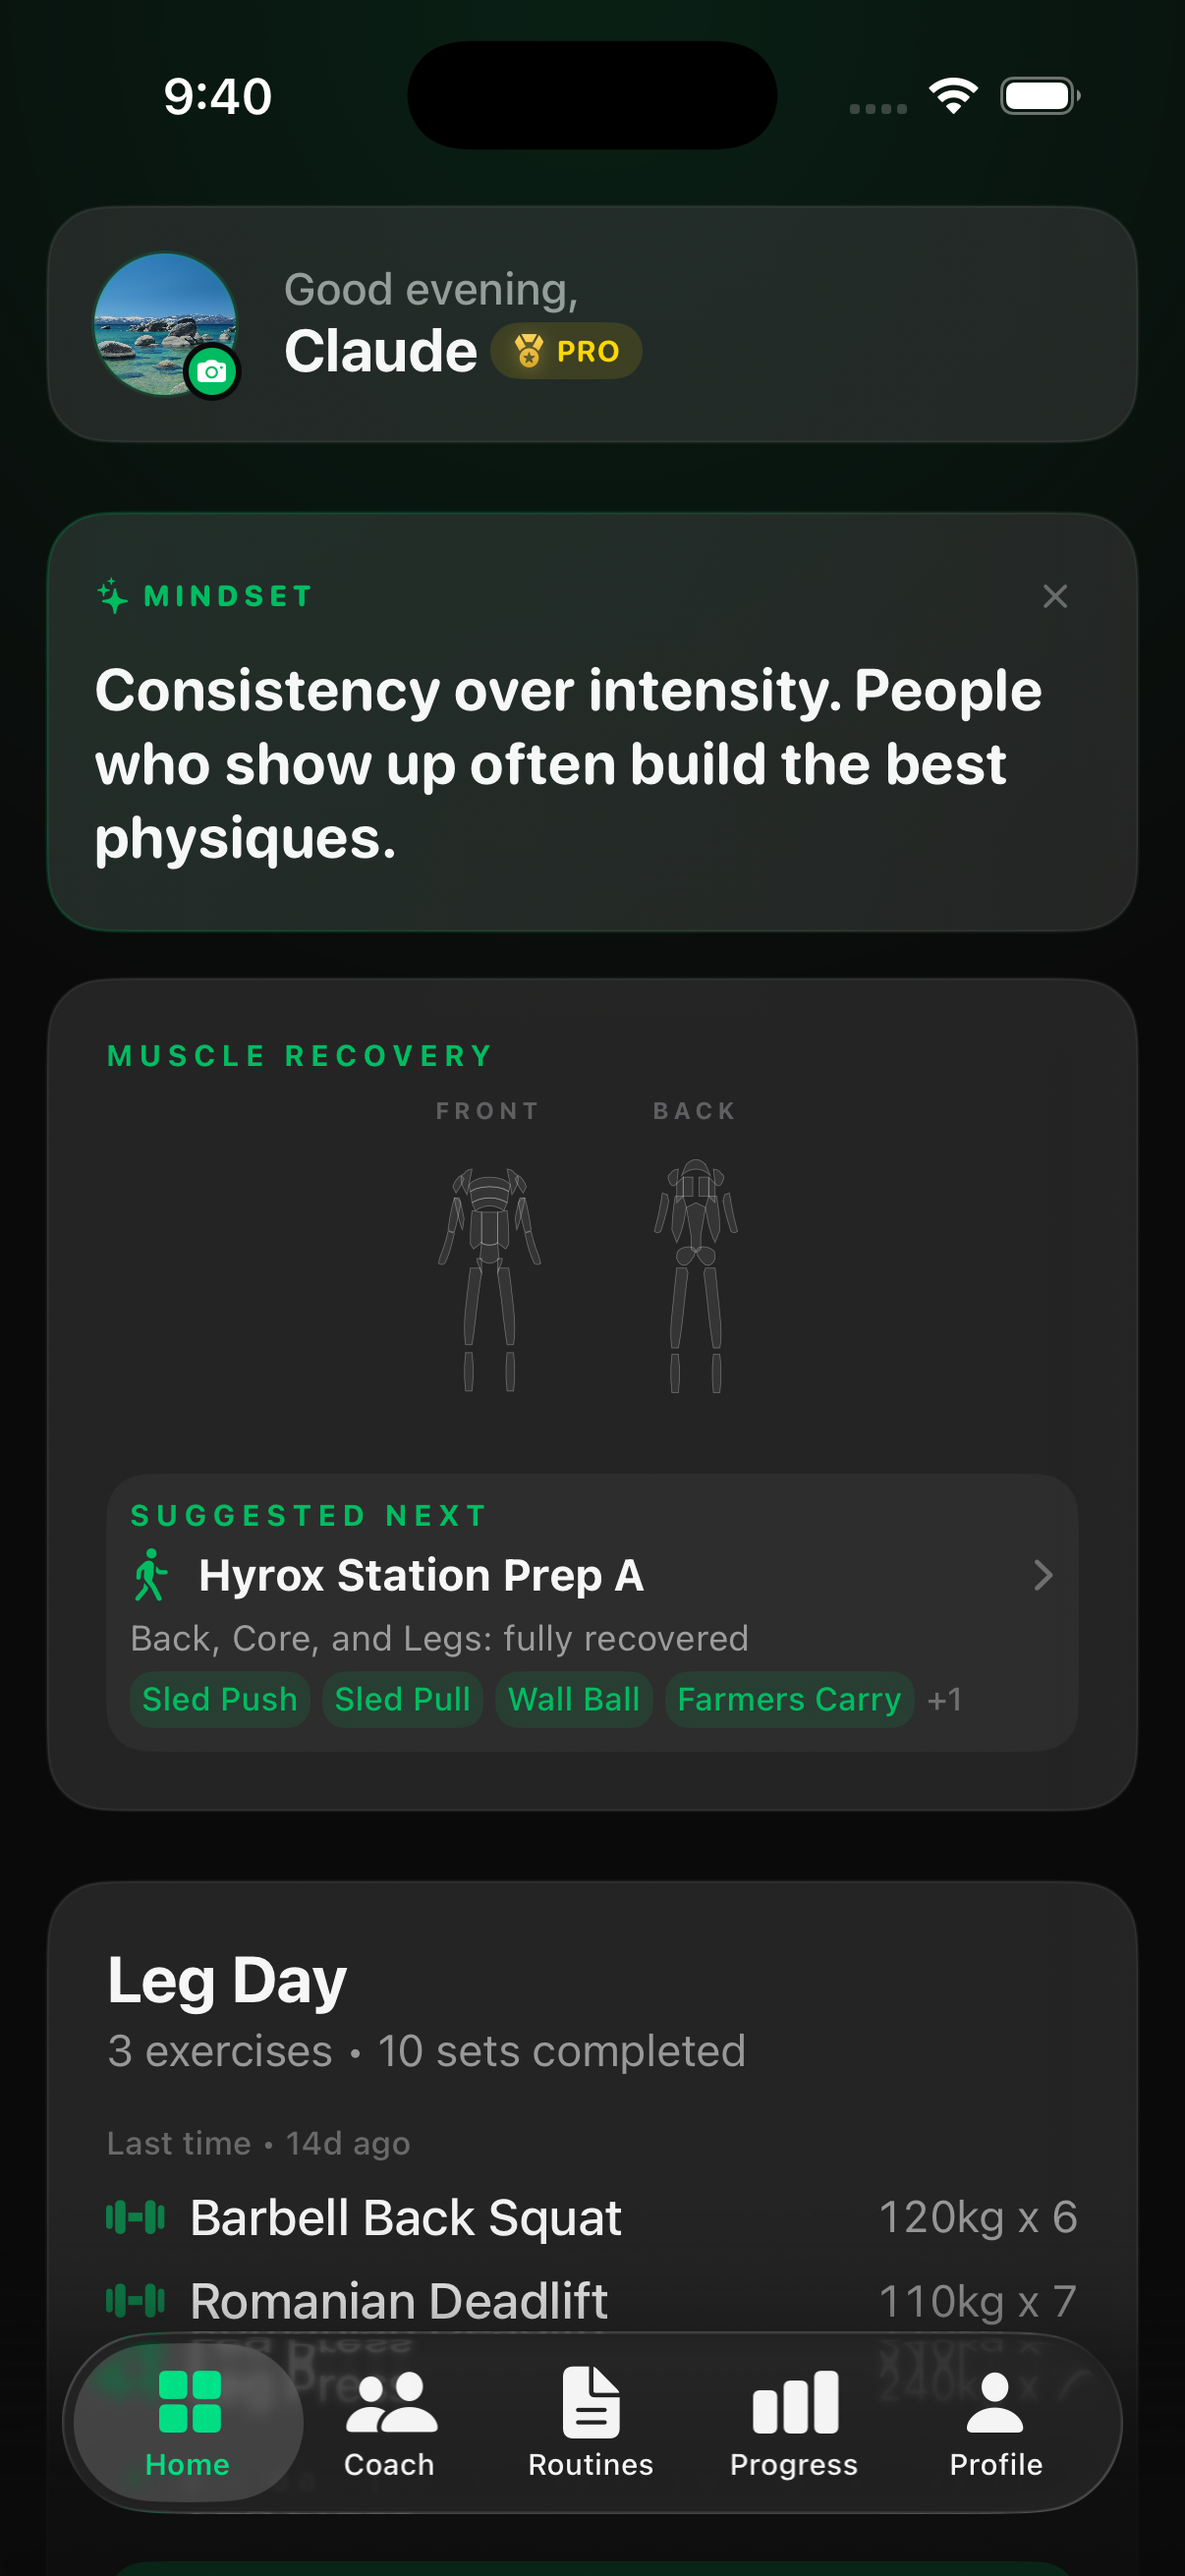
You land on Home. There’s a bottom tab bar with five tabs: Home, Coach(only relevant if a trainer manages your training — solo users can ignore it), Routines, Progress (your history and charts), and Profile. Everything you set up below lives under Profile → Settings.
Get Set Up
Four quick things get Rack working the way you want. None takes more than a minute, and each has its own short guide if you want the detail.
- Tune your preferences. Set your weight unit(kg or lbs) and the rest of your defaults so the whole ecosystem — app, web, and watch — follows them. See Tune Your App to Your Preferences.
- Pair your Garmin(if you train with one). Getting Rack onto your wrist is a two-part setup — the watch app plus the connection. See Pair Your Garmin.
- Turn on the extras. In Settings, flip on Training Intelligence (Rack’s AI coaching — Pro), Apple Health (so workouts write to the Health app), and Garmin Connect (so finished workouts auto-upload to your Garmin activity feed). Each is a single toggle or a quick sign-in.
- Bring your history (optional). Coming from Hevy, Strong, or Fitbod? Import it so your PRs and history come along. See Import From Other Apps.
Your First Workout
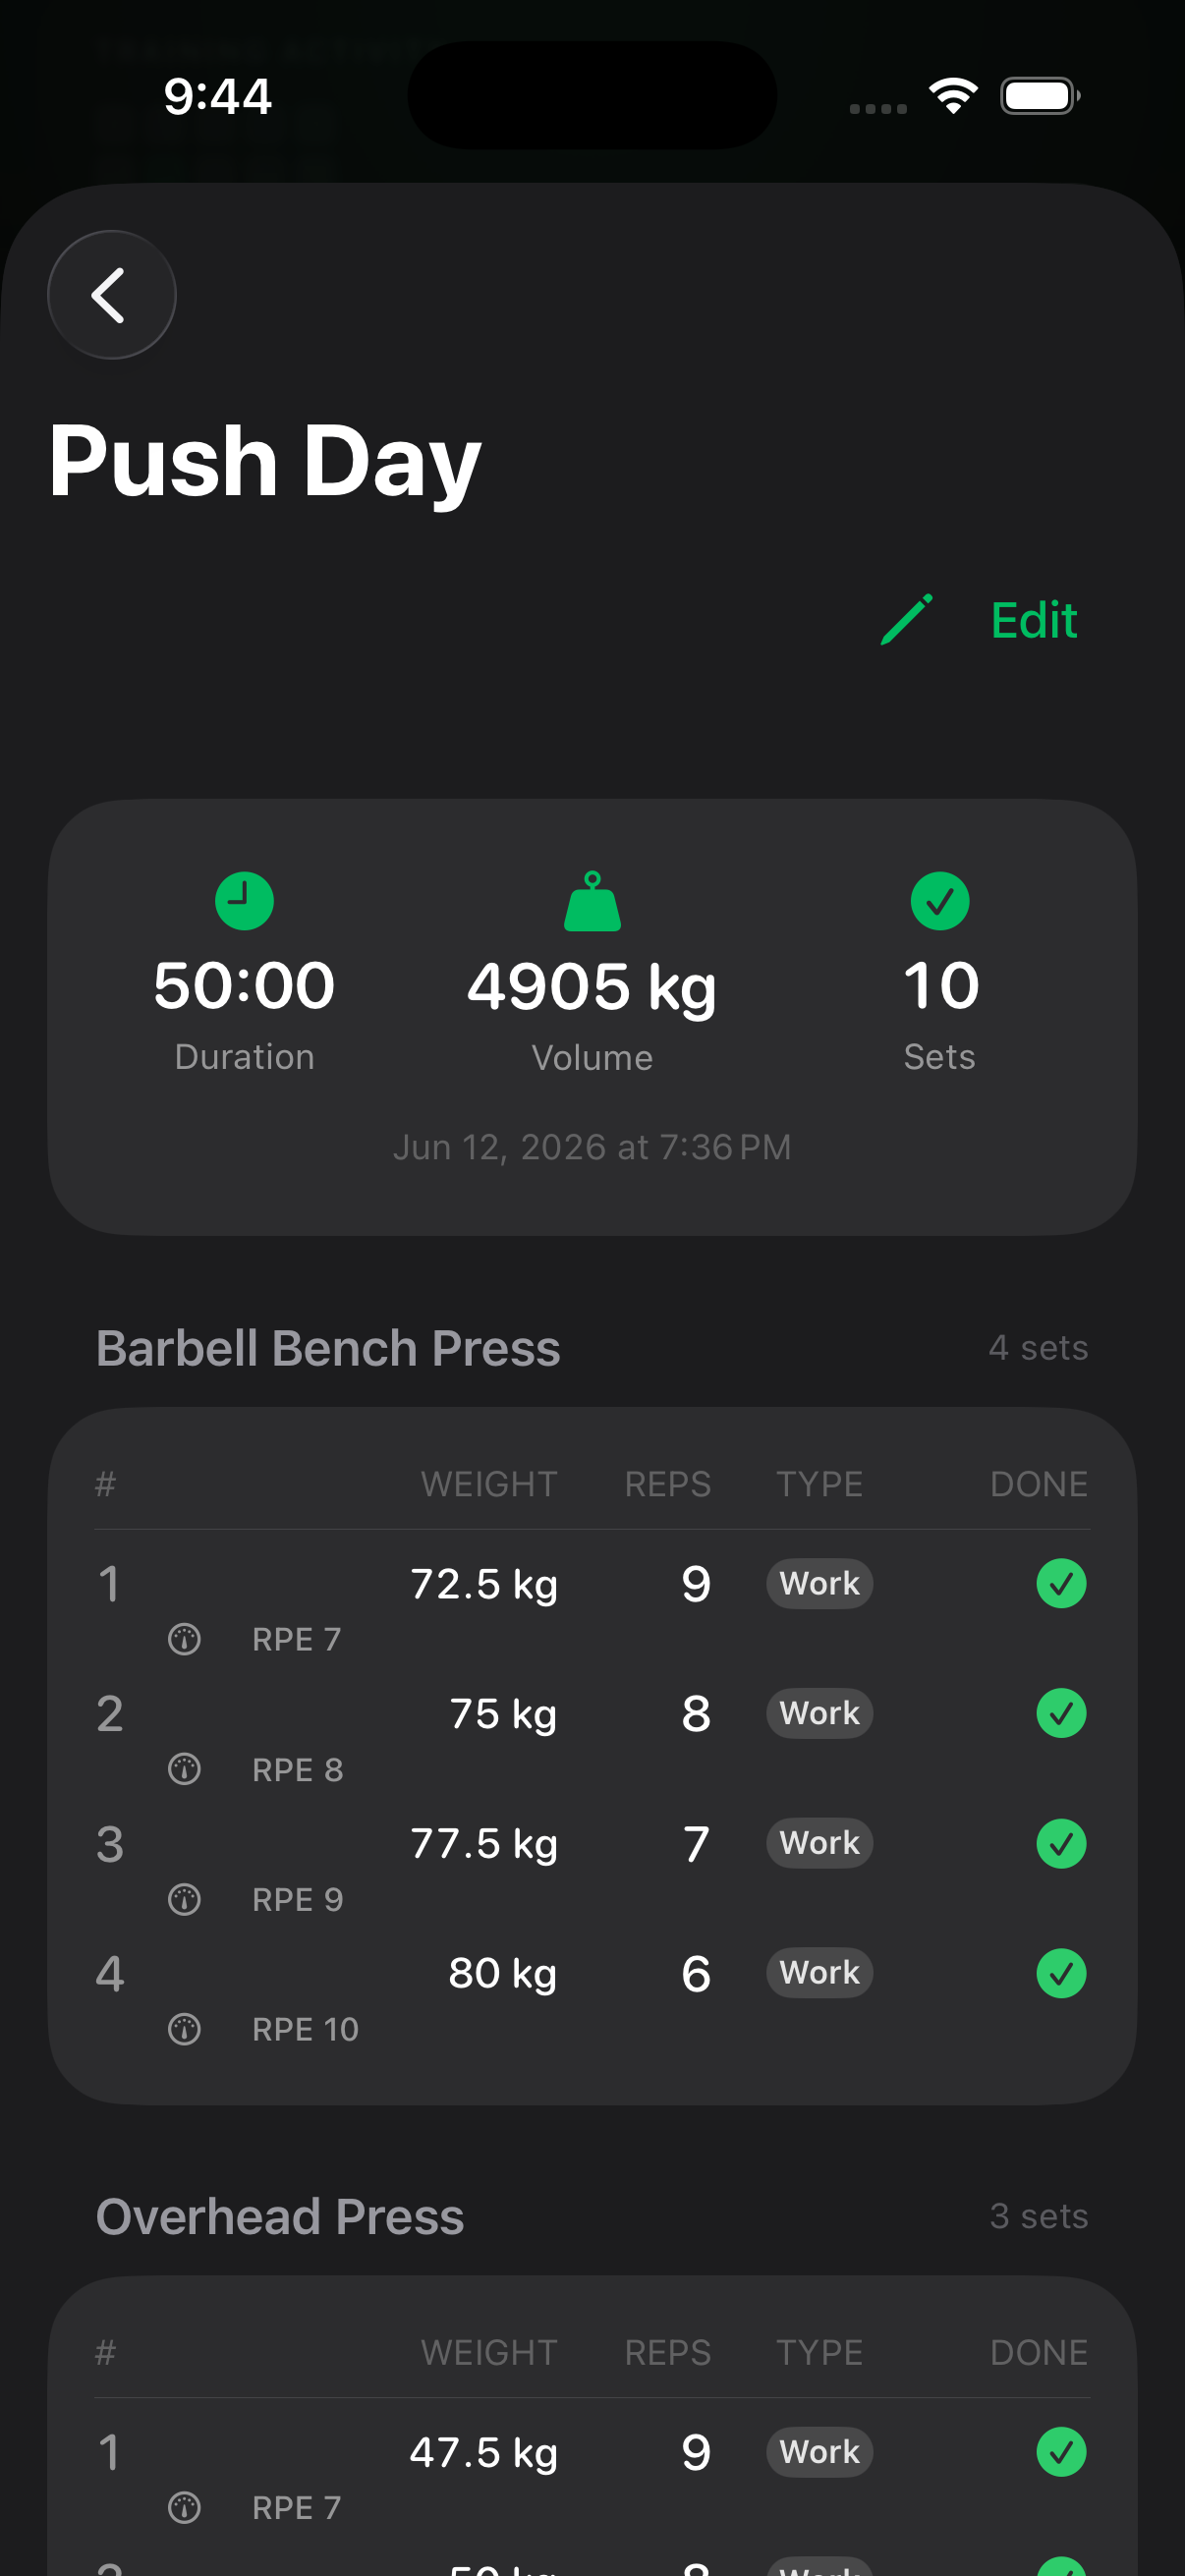
Two ways to start. If you just want to lift, tap Log Workout on Home for a freestyle session you fill in as you go — tap Add Exercise, search a movement, and for each set enter the weight and reps and confirm it. The rest timer starts automatically between sets, and you can log RPE(a 1–10 “how hard was that set” rating) or leave it blank. Tap Finishto save — it lands on your Progress tab.
Made a mistake? Tap any set to change its weight or reps, or swipe a setto delete it (you can’t delete the last set of an exercise — swipe the whole exercise to remove that instead). Nothing is written to your history until you tap Finish, so rearrange and redo freely before you save — or tap Discard to throw the session away.
The other way is to start from a routine, so your exercises and targets are already there. Don’t have one yet? Building your first takes a minute — see Create Your First Routine. Once you have one, you can start it from your phone or, if it’s synced, straight from your Garmin — and that works two ways:
Connected
Every set you confirm on your wrist syncs live to your phone, and on to the cloud. Rest timers and your next set stay in step across both.
Offline
Leave your phone in the locker. The watch logs every set on its own, then drains them to your phone with Sync to Phone next time they’re together.
Turn a Past Workout Into a Routine
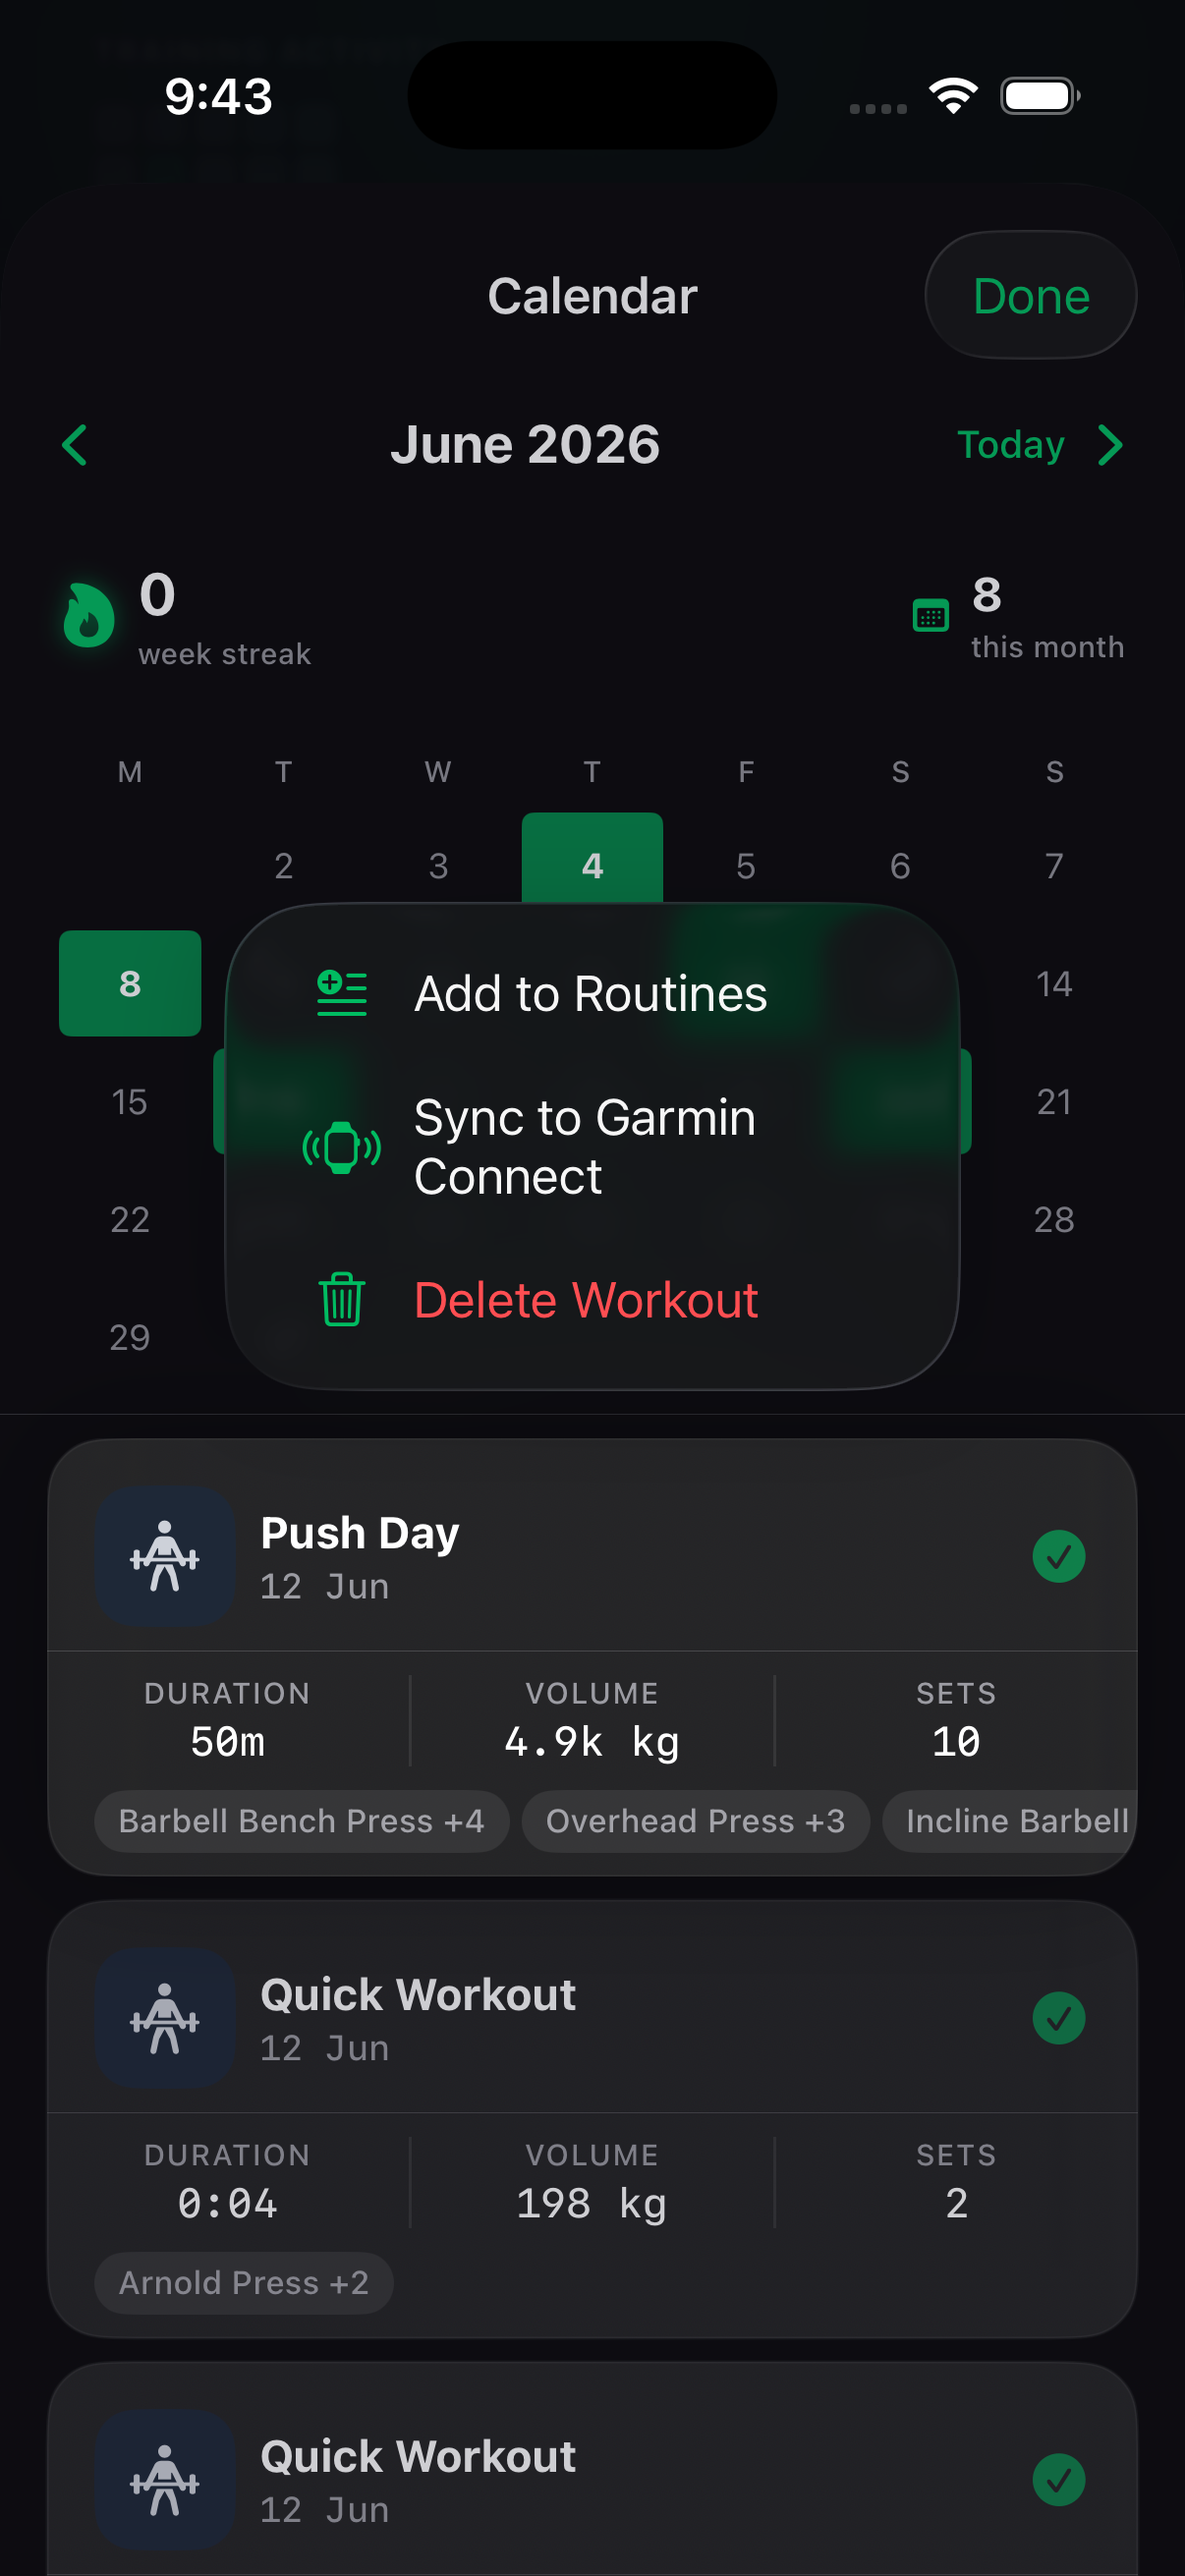
This is the shortcut people hunt for, and it’s a hidden gesture you’d never guess: go to the Progress tab, open the day of a completed workout, and press and hold (long-press) the workout card. Choose “Add to Routines” and Rack turns that session into a reusable routine instantly. It works on imported workouts too, so you can rebuild your routines from real sessions in seconds.
Go Further: Routines and Programs
Once you’re logging, two guides take you the rest of the way: Create Your First Routine covers building a reusable workout from scratch, and Build Your First Program strings your routines into a multi-week plan that Rack schedules and tracks week to week.
Connect an AI Chat (Pro)
Rack plugs into AI assistants — ChatGPT, Claude, or any client that supports MCP— so you can build routines and custom exercises just by asking. It’s a browser setup with its own steps; start at the AI Connector page, and for the full ChatGPT walkthrough see Connect ChatGPT to Rack.
Still Stuck?
Email support@rackstrength.com with your device model and what you were trying to do. We reply fast.